Purpose
This guide will help you grant the required access on your Mac to ensure the Kap application can record your screen.
Four-step Process
Step 1
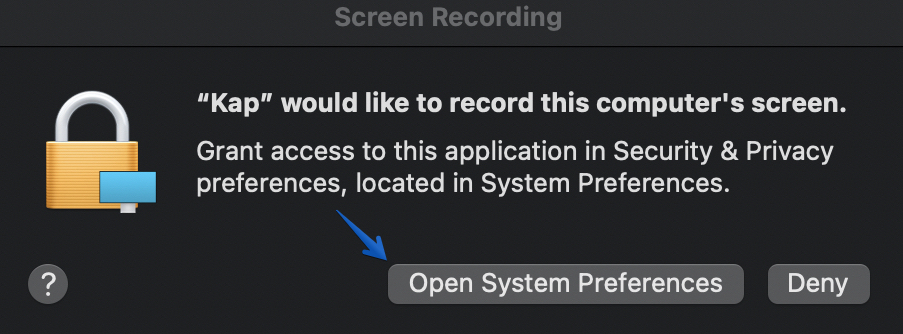
When you first open Kap, you will first see a pop-up window requesting that you grant Kap access to record your screen. Click Open System Preferences.
Step 2
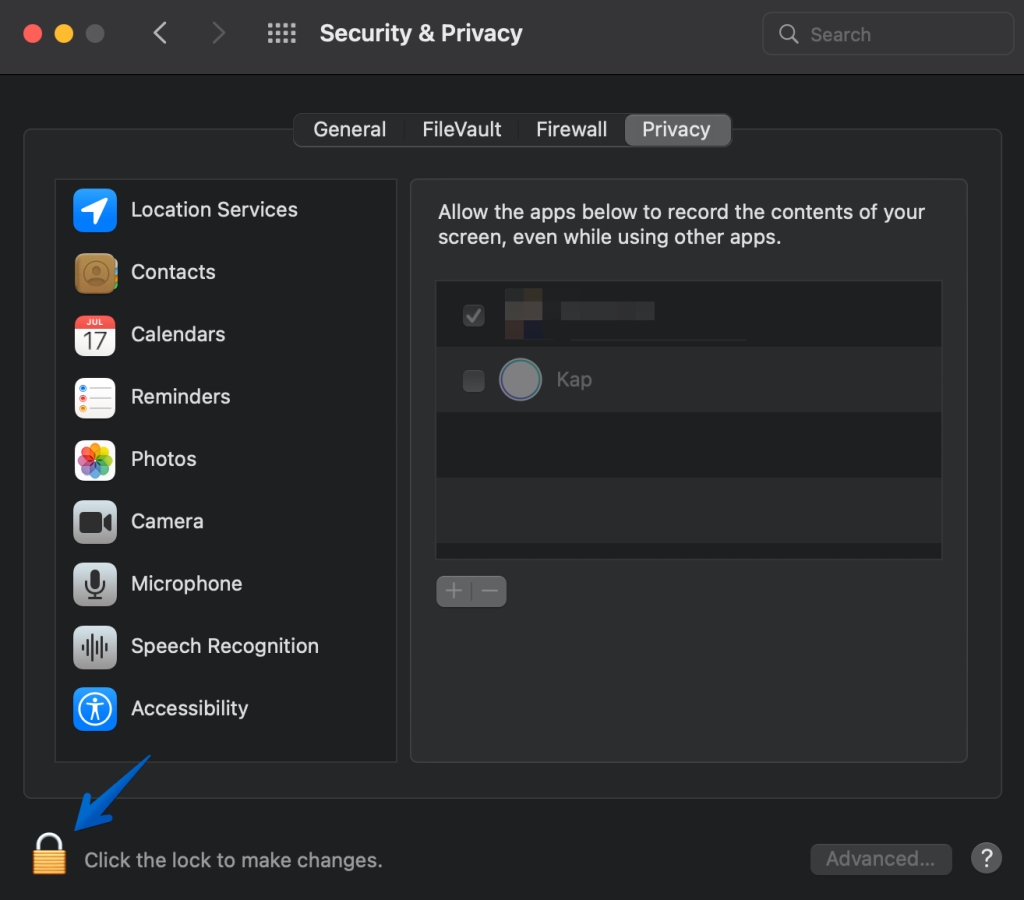
You will notice that the Kap checkbox is not selected and cannot record your screen. Click the lock icon to begin updating the list of allowed applications.
Step 3
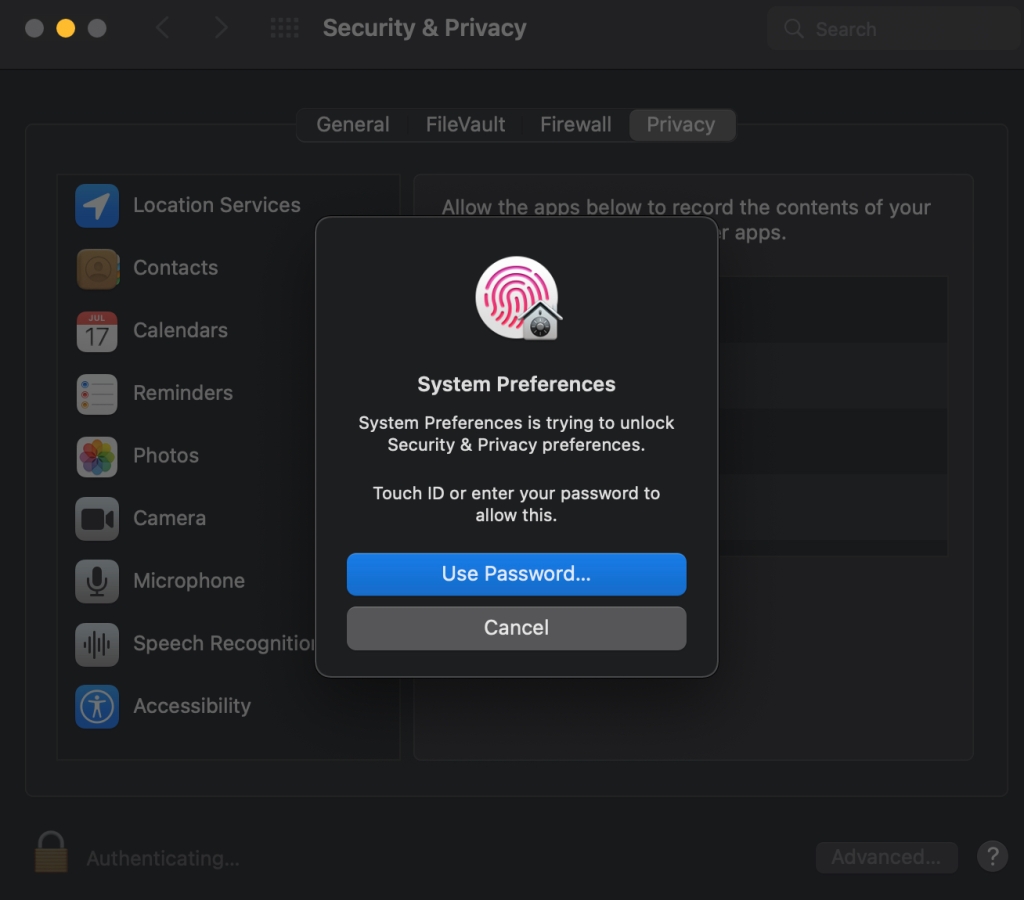
Use either your touch ID or Mac login password to add Kap to the Privacy list.
Step 4
Check the box next to Kap.

Step 5
You will then see a prompt informing you to close Kap now and re-launch to begin using it or opt to complete this later.
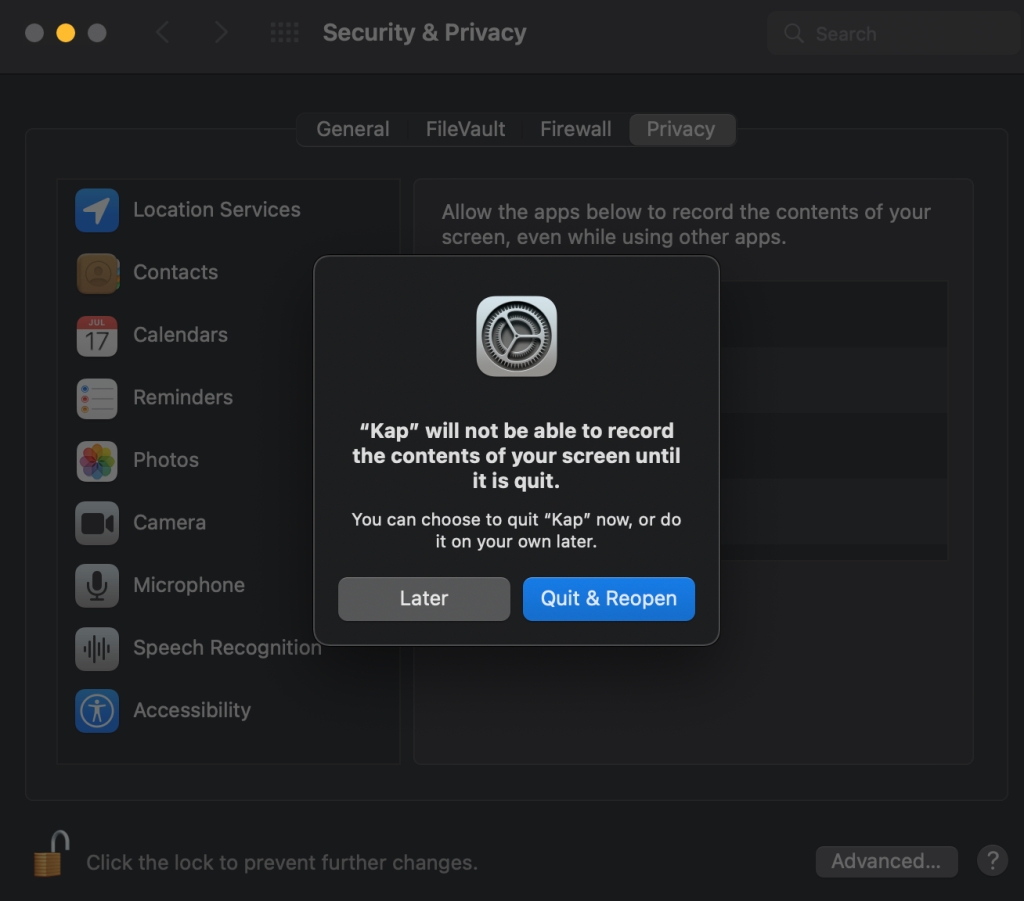
If you would like to record audio (e.g. you intend to narrate video) you will need to grant Kap access to your microphone.
