Quick Start Guide🔗
Purpose🔗
This guide helps you quickly get up and running with the Kap app. For more details, refer to the comprehensive user guide.
Requirements🔗
Before you begin, ensure you have:
- Installed the application (refer to the installation guide).
- Allowed the Kap application to record your screen (refer to the screen recording access guide).
Tip
Open Kap from your Applications folder. If you use this app frequently, right- click the dock icon, choose options, and select "Keep in Dock".
How to Complete a Recording in Six Easy Steps🔗
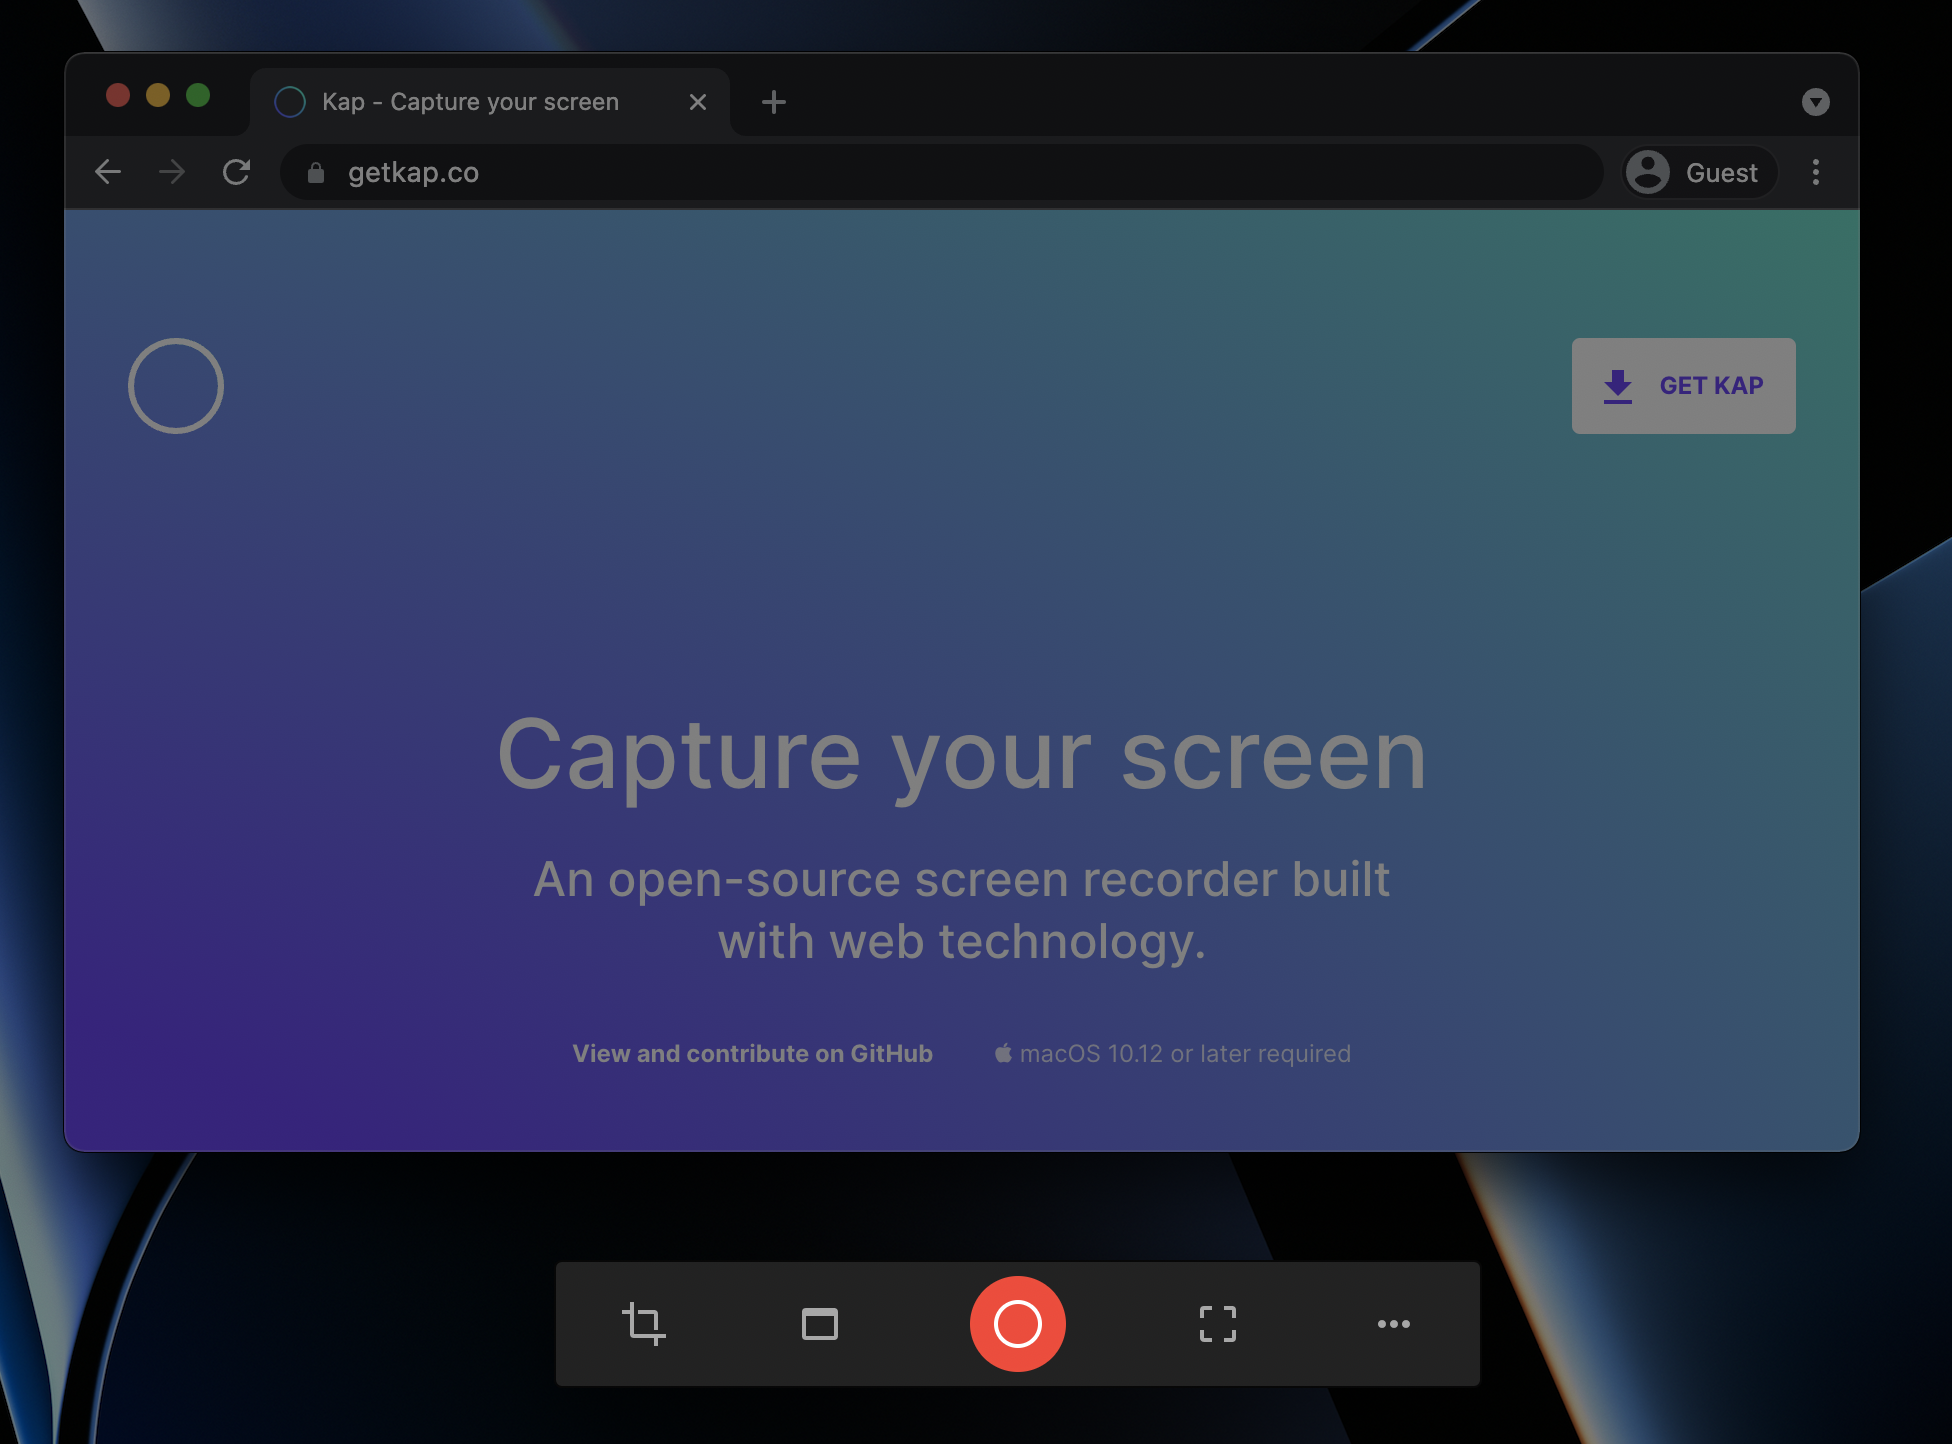
Step 1🔗
Open the Kap application. The screen will darken, and the toolbar will display.
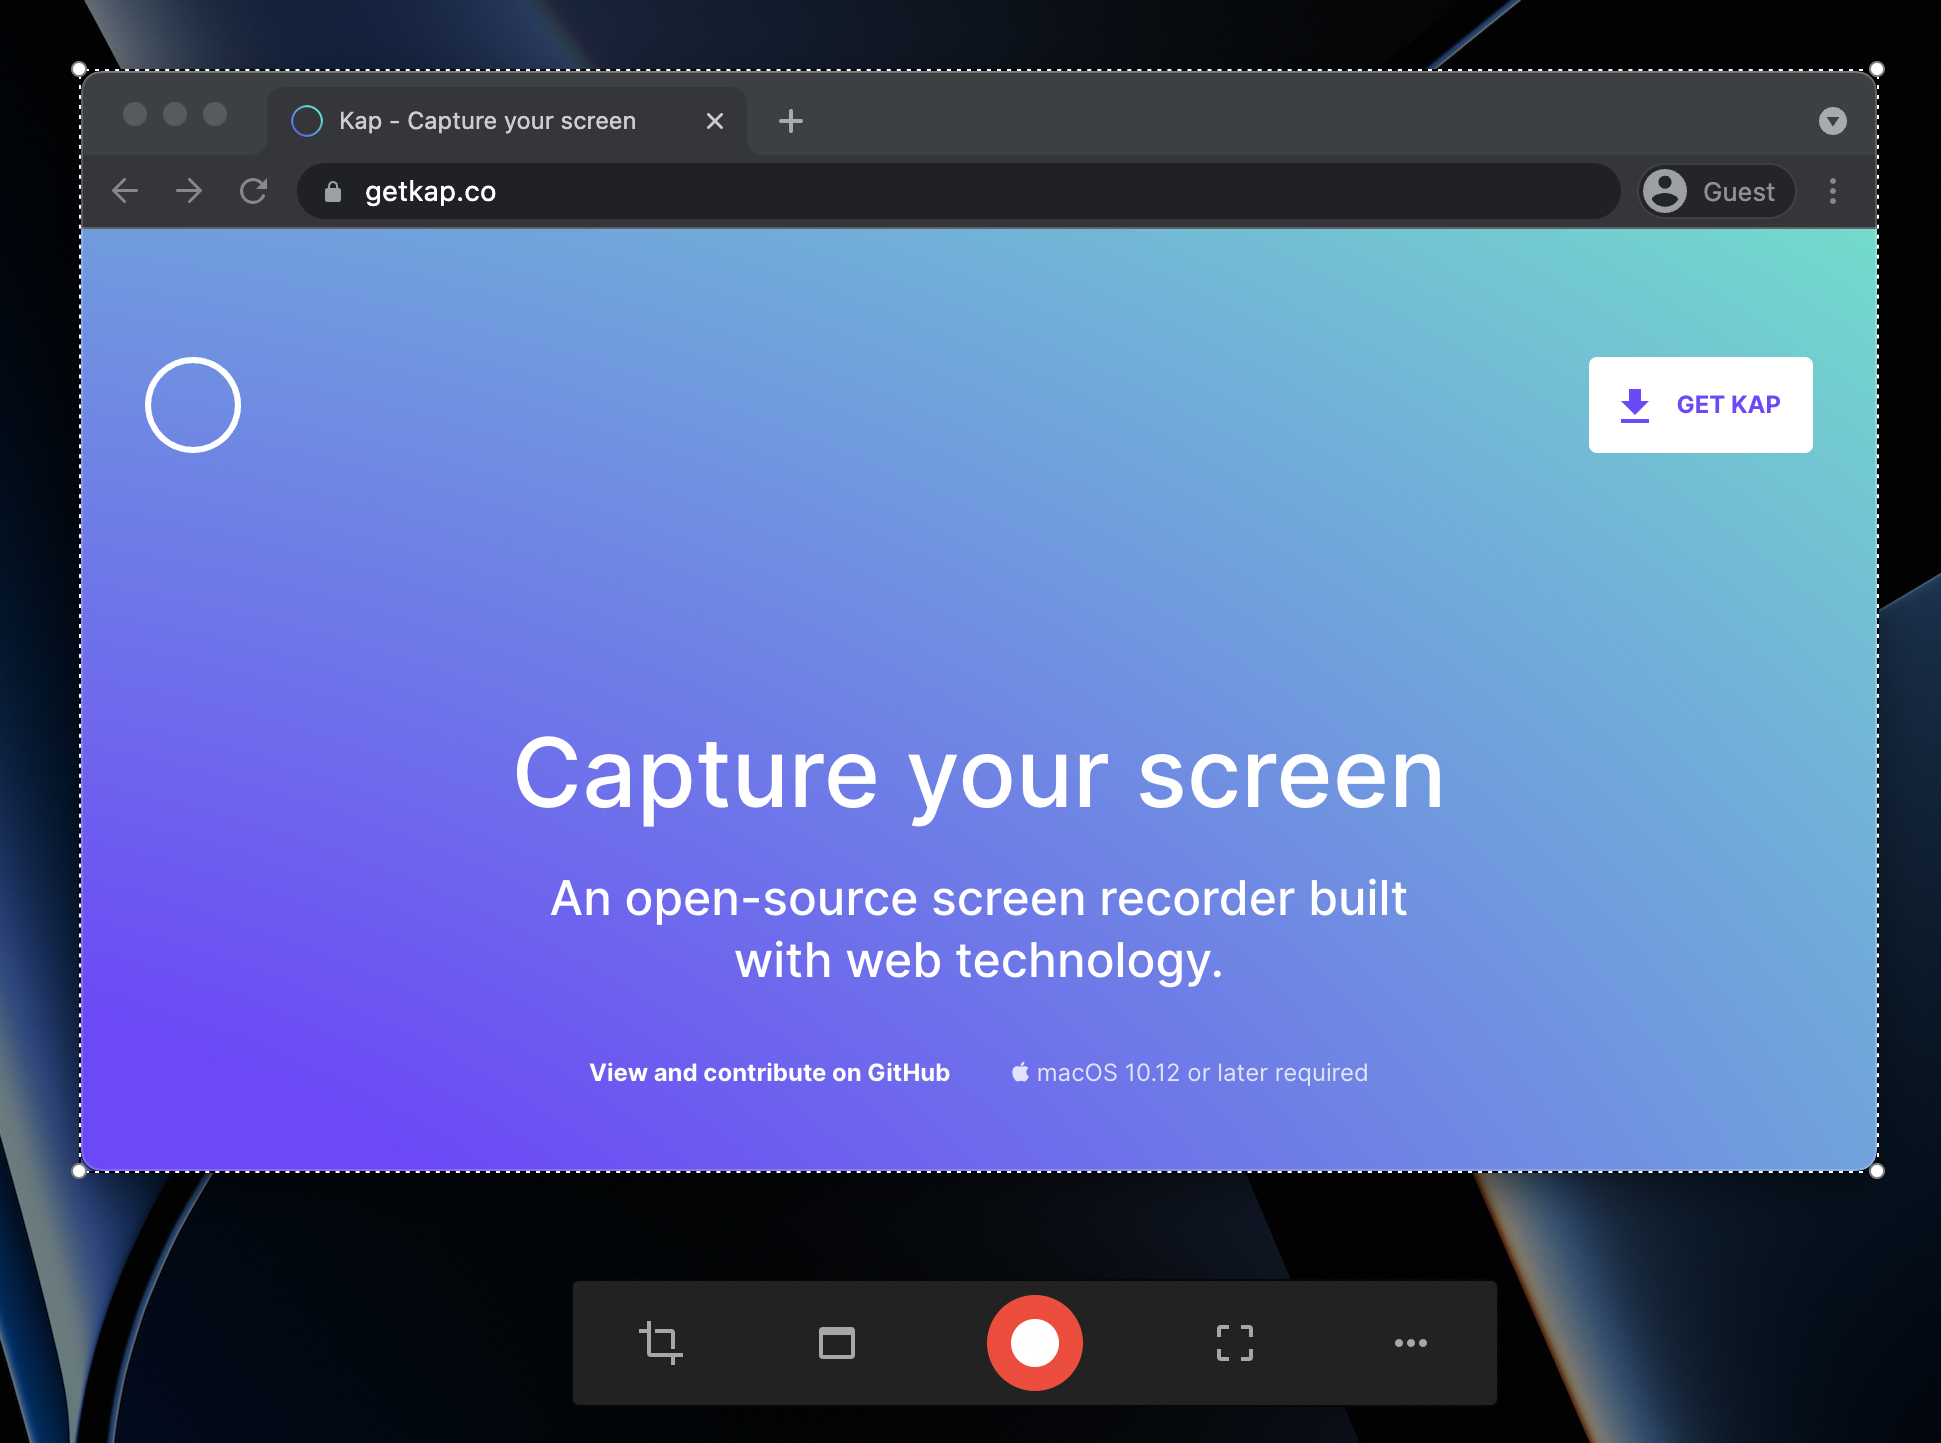
Step 2🔗
Define the recording area in one of three ways:
- Cropped capture
- Application window capture
- Full-screen capture
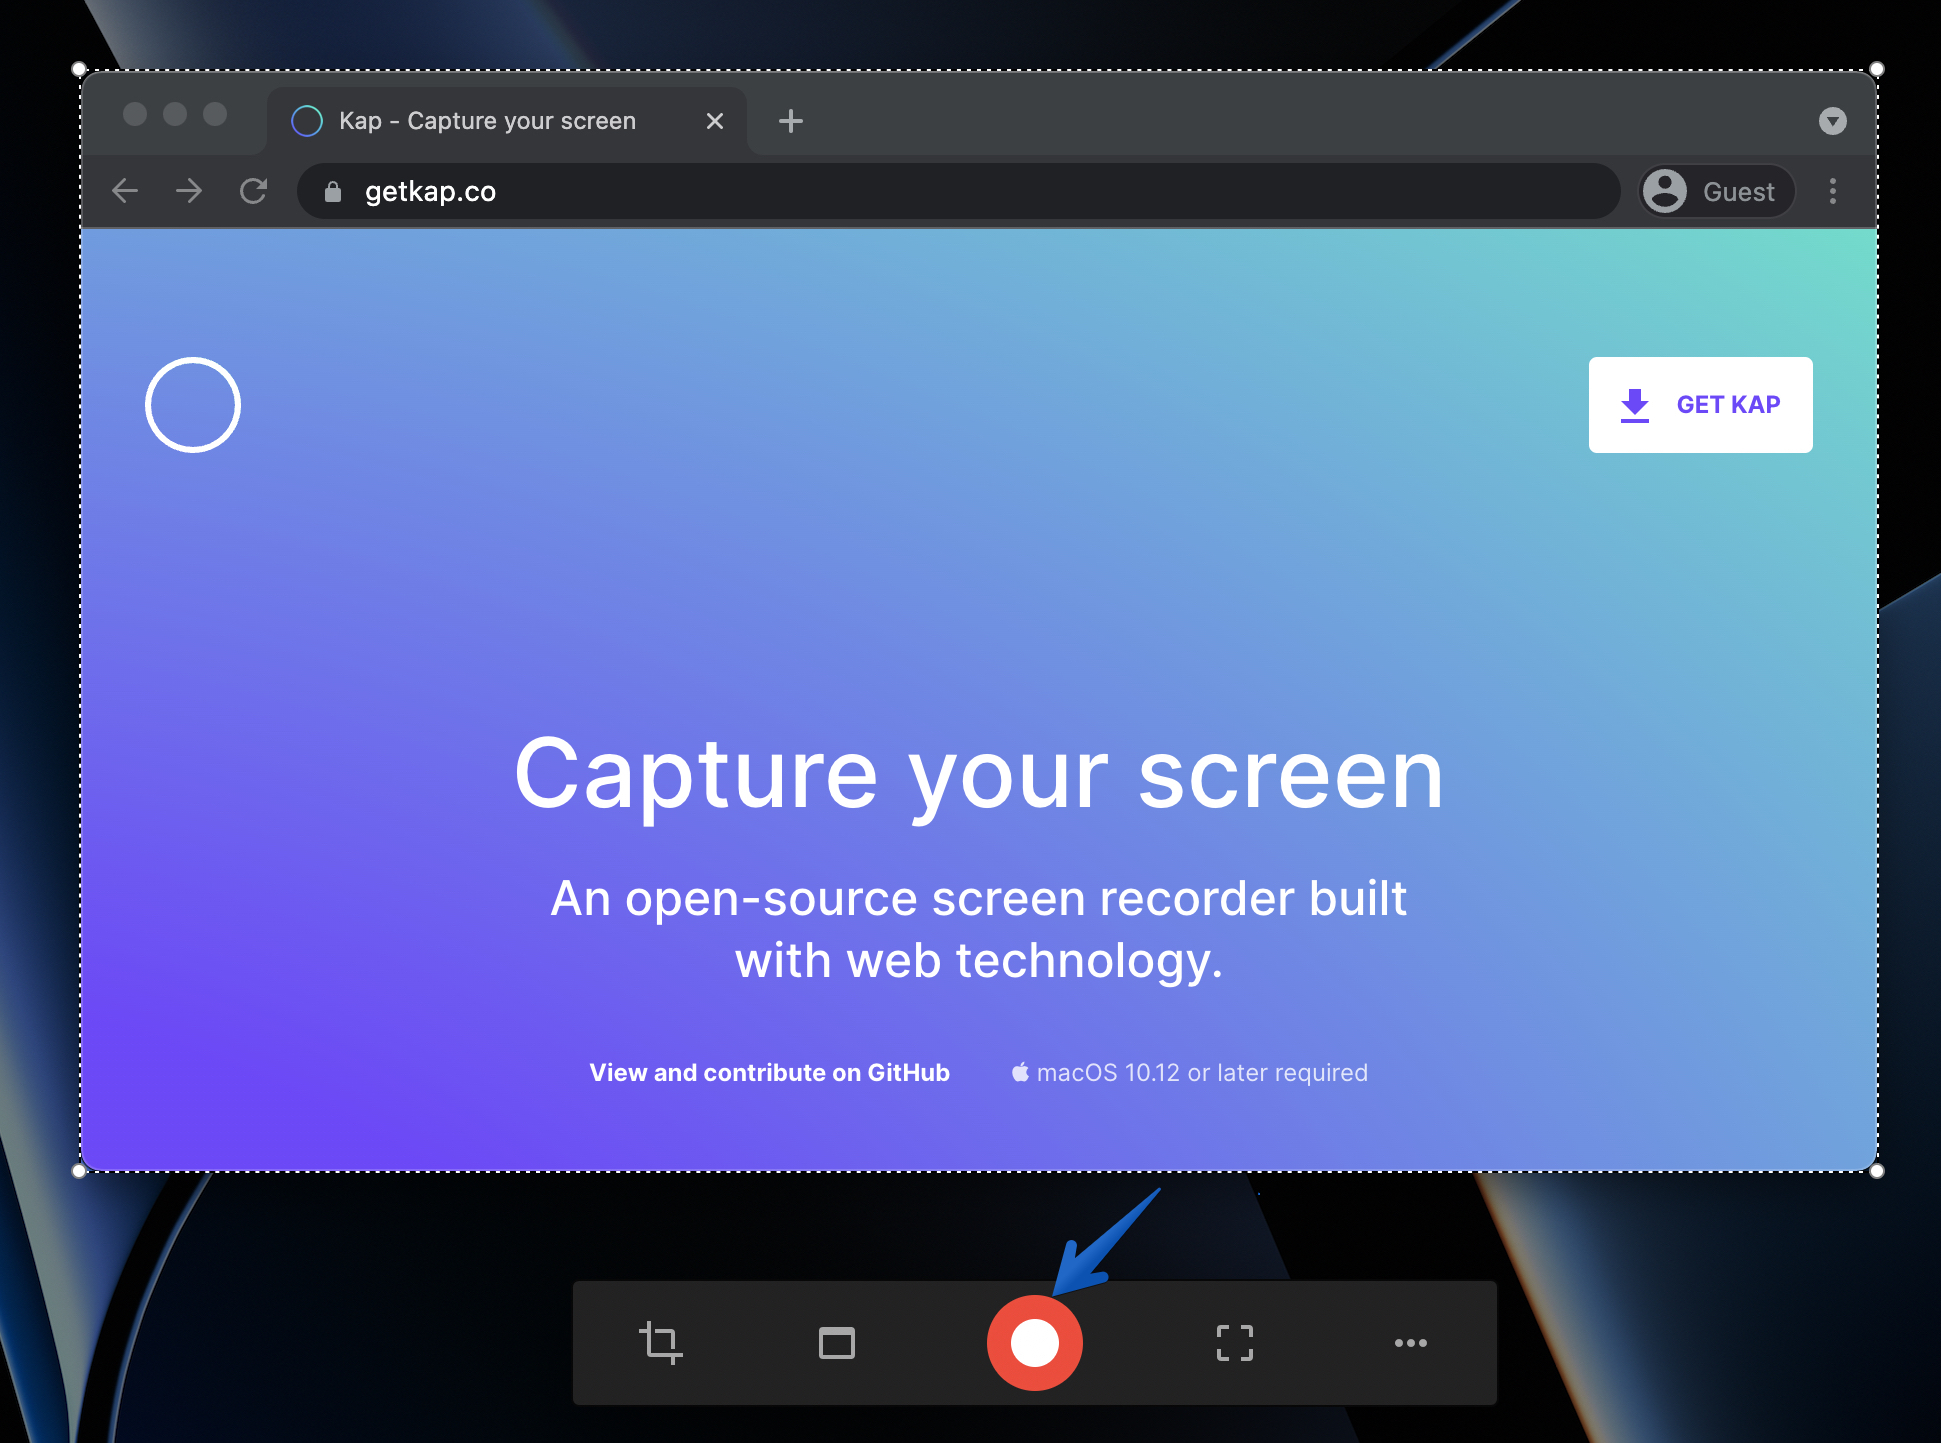
Step 3🔗
Click the record button to start recording.
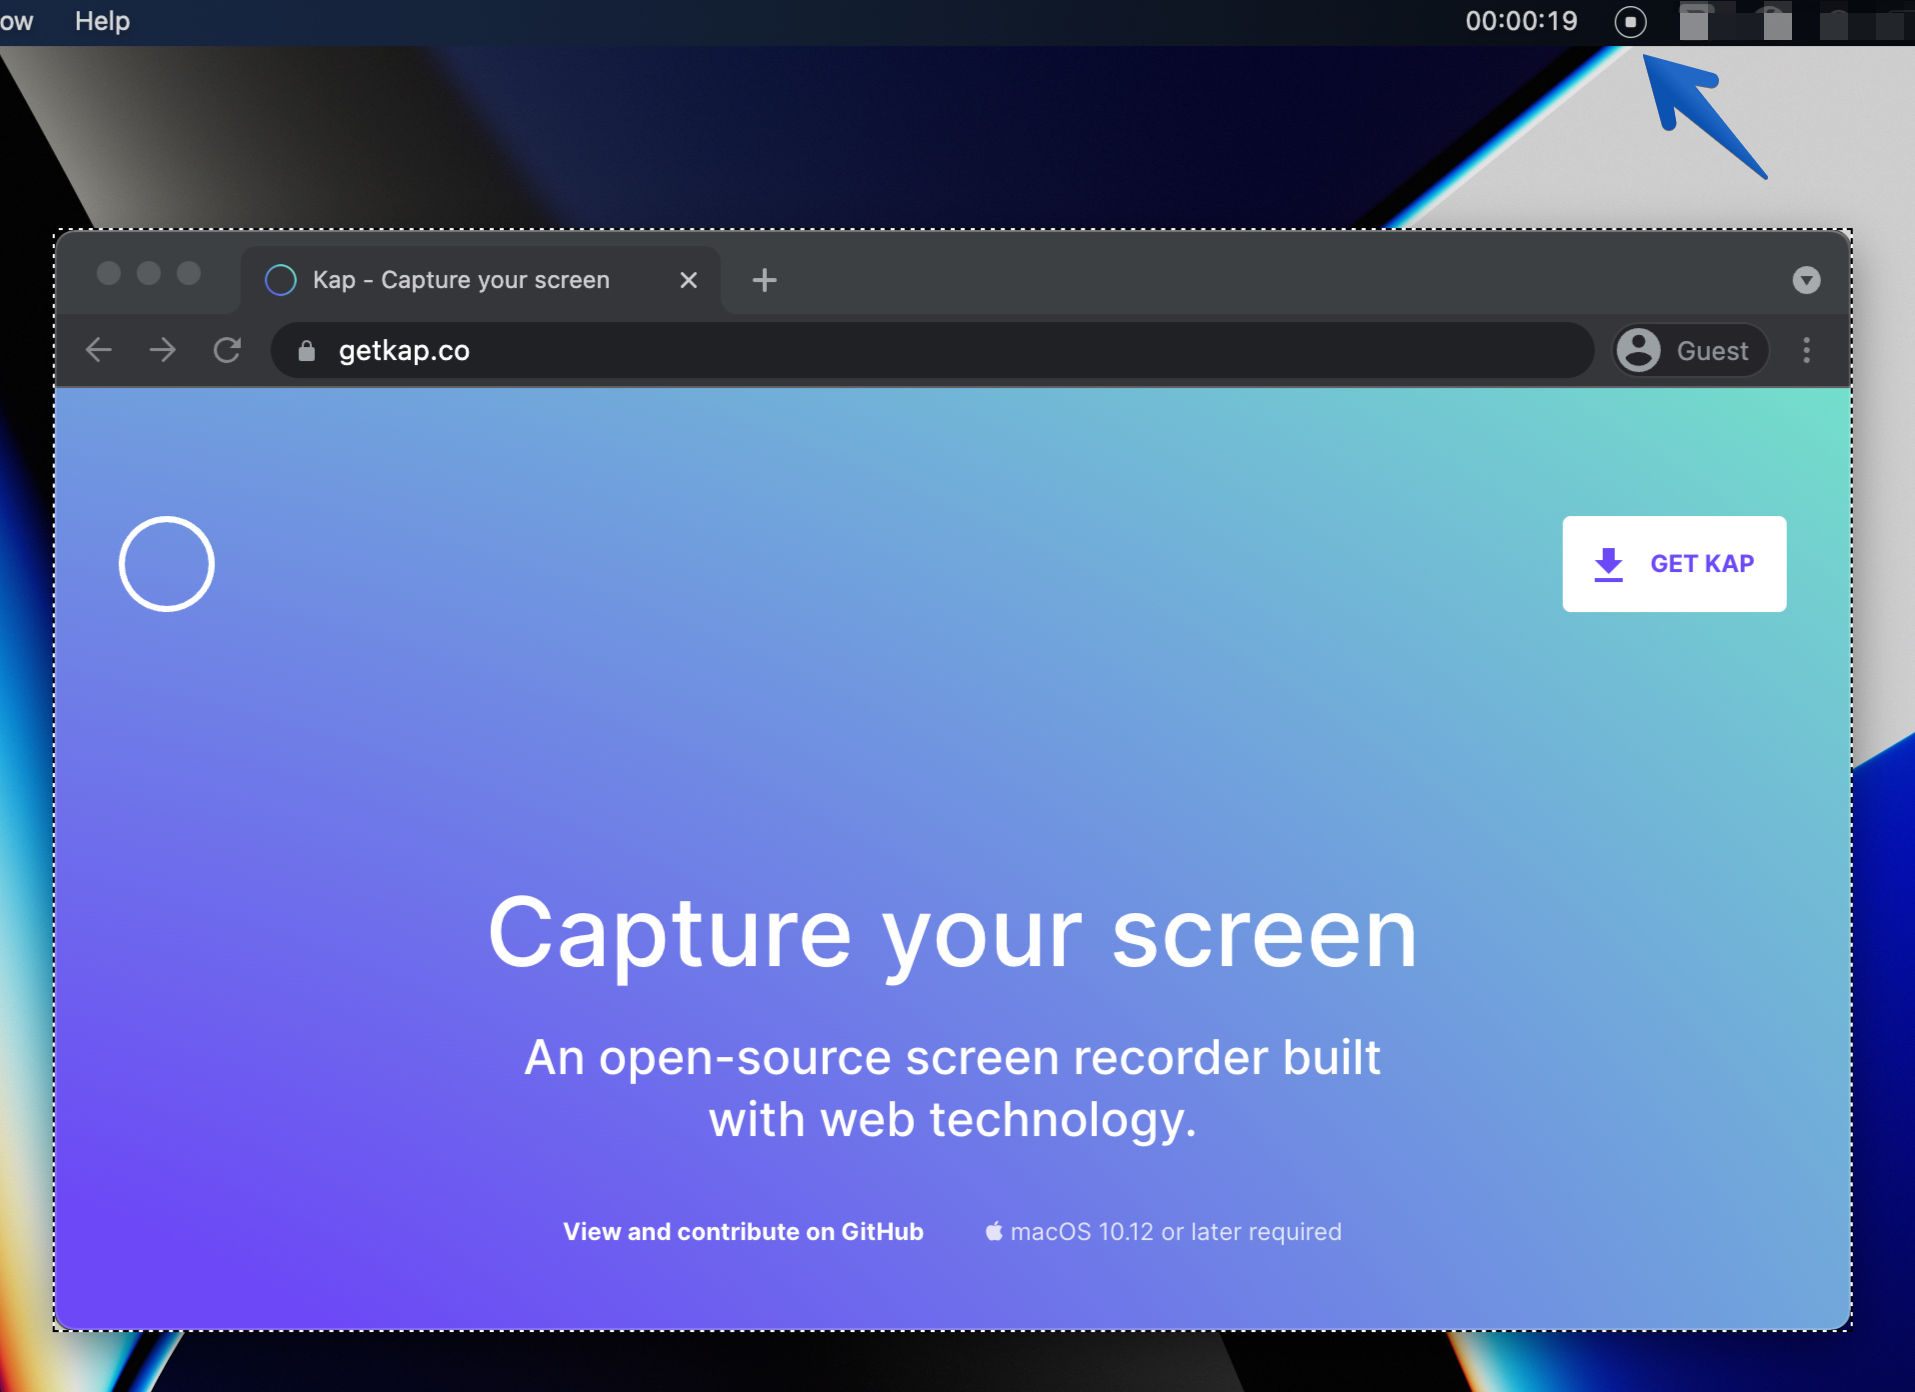
Step 4🔗
Click the stop button in the menu bar to end the session.
Step 5🔗
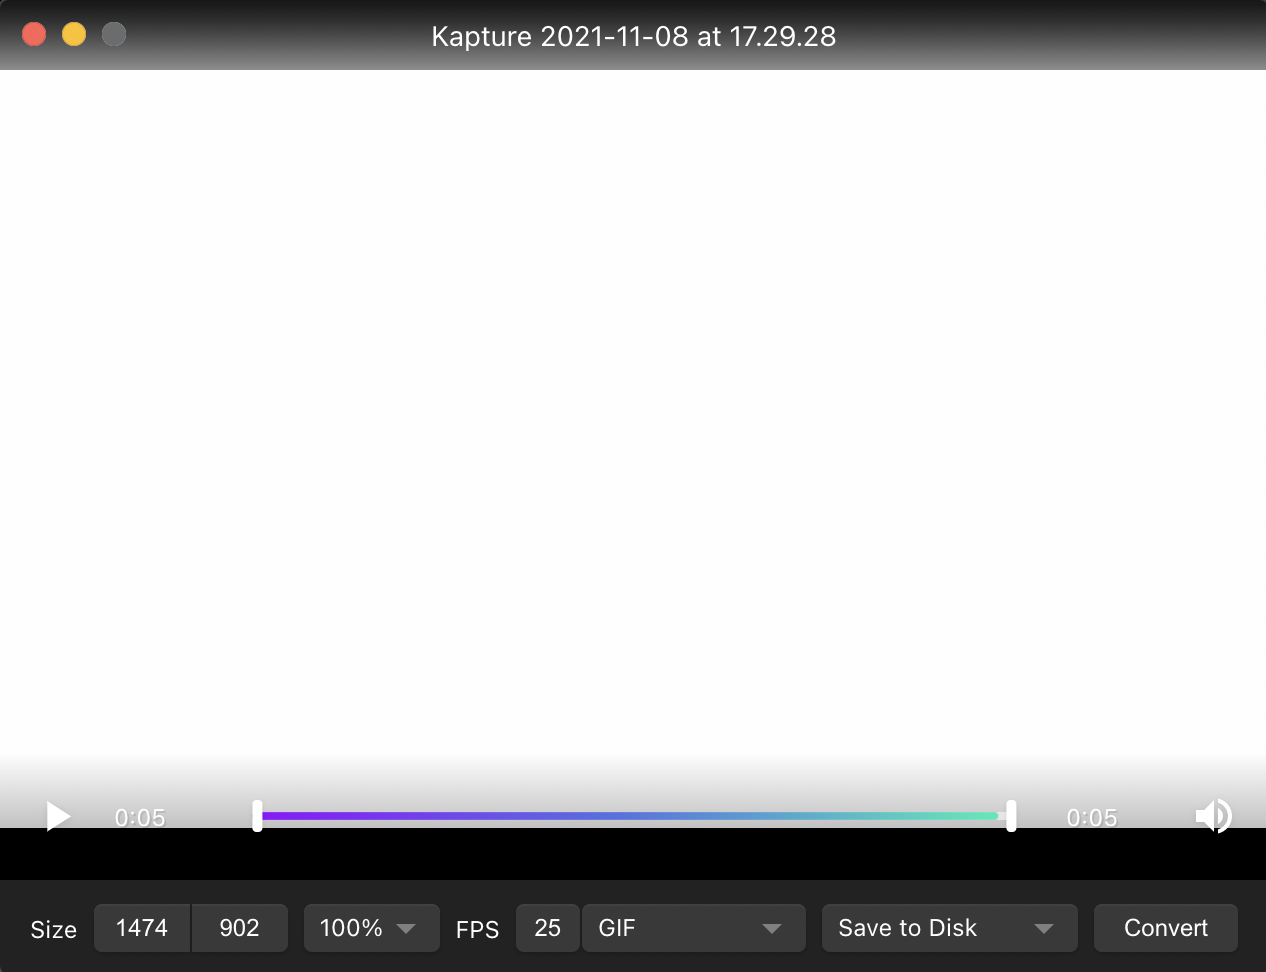
After the recording ends, an editor window will display.
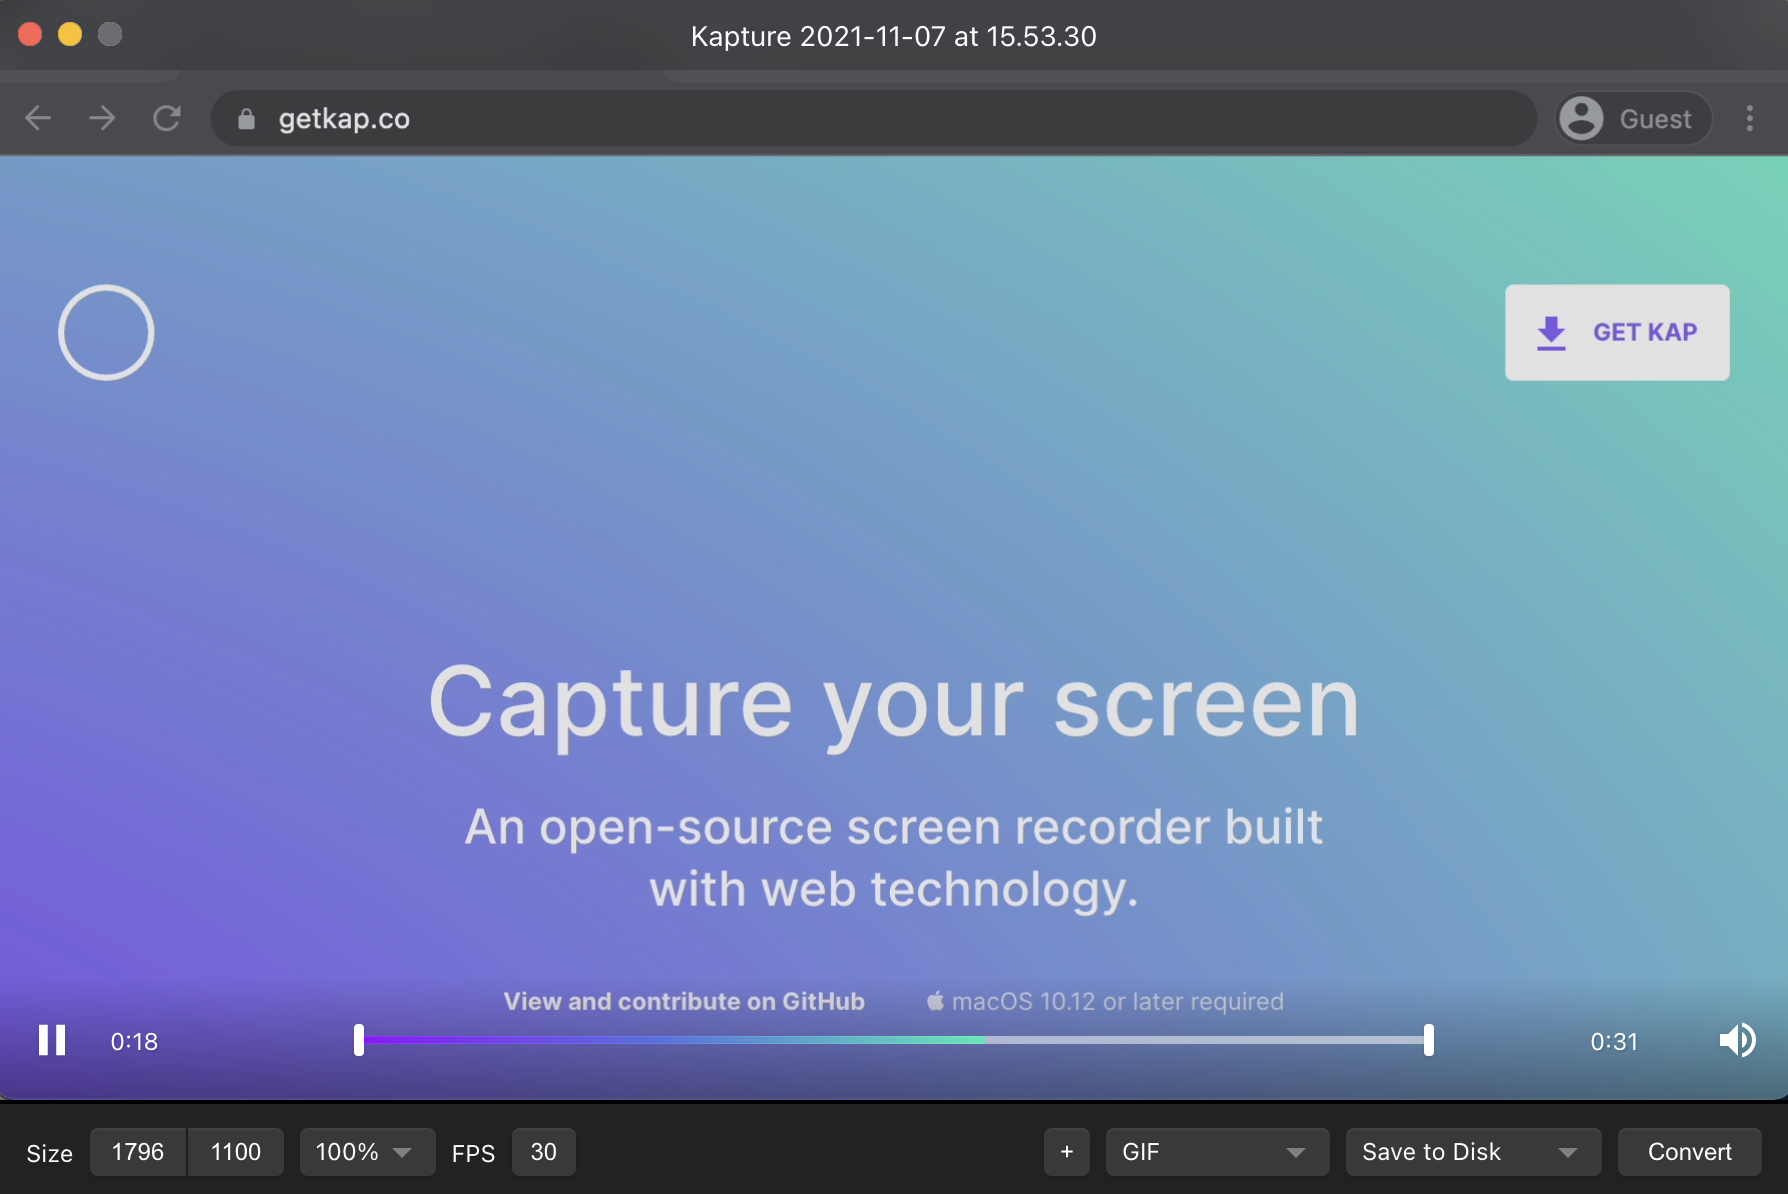
Step 6🔗
Set size parameters, frames per second, file format, and export location. Click " Convert" to save the recording. You can also customize the file's name, tags, and destination.
Preferences and Plugins🔗
Modify Kap's preferences and enable plugins to customize the app to your needs. The keyboard shortcut to the app's preferences is Cmd+, (command + comma). For more information, refer to the preferences and plugins guide.